Introduction
With node-ar-drone installed we can now attempt to fly a drone using commands from the computer. To start, we are going to use a REPL.
A REPL is a Read-Eval-Print loop. In essence, it allows you to execute a single line of code at a time. You type a command, that command is read, it is then evaluated (run), and the result is printed. Sometimes the result may not be terribly useful, as the command performs an action and does not provide much feedback, whereas other times you may need the result (e.g. as the output of a calculation).
In this unit of work we are going to use the node-ar-drone REPL to send individual commands to the drone, (hopefully) controlling it as a result.
Setting-up the REPL
The node-ar-drone package includes a REPL, but we need to write a Node.js script which calls/runs the REPL. Switch to your folder which contains the package (if you followed the previous example, this would be ~/Desktop/ar-drone-scripts) and create a new file called repl.js using your favourite text editor.
Put the following code inside the file:
var arDrone = require('ar-drone');
var client  = arDrone.createClient();
client.createRepl();
This code will include/reference the node-ar-drone library, create a new client object (essentially, an object which represents the physical drone in code - this is the link from the computer to the drone), and then creates a REPL for that client object (i.e. drone).
Connect to the drone
Next, connect to the drone's wireless network on your laptop. This is done just like connecting to any other network - through the normal wireless settings on your computer.
Testing the REPL
Once the computer is connected via wireless to the drone, we can test the REPL. In the Terminal, run the following command to start the REPL:
node repl.js
You should be presented with the following prompt:
drone>
After completing your standard pre-flight checklists, you are ready to take-off. Type the following commands:
drone> takeoff()
true
// Wait for the drone to takeoff

drone> clockwise(0.5)
0.5
// Let the drone spin for a while

drone> land()
true
// Wait for the drone to land
If this all works then you are successfully controlling the drone from your computer!
To exit the REPL, press CTRL + C twice.
Reference: Portions of these instructions have been adapted from: https://github.com/felixge/node-ar-drone.
More commands
There are many more commands available which are described in detail on the node-ar-drone project page at: https://github.com/felixge/node-ar-drone.
Student Activity: Up, Across, Down
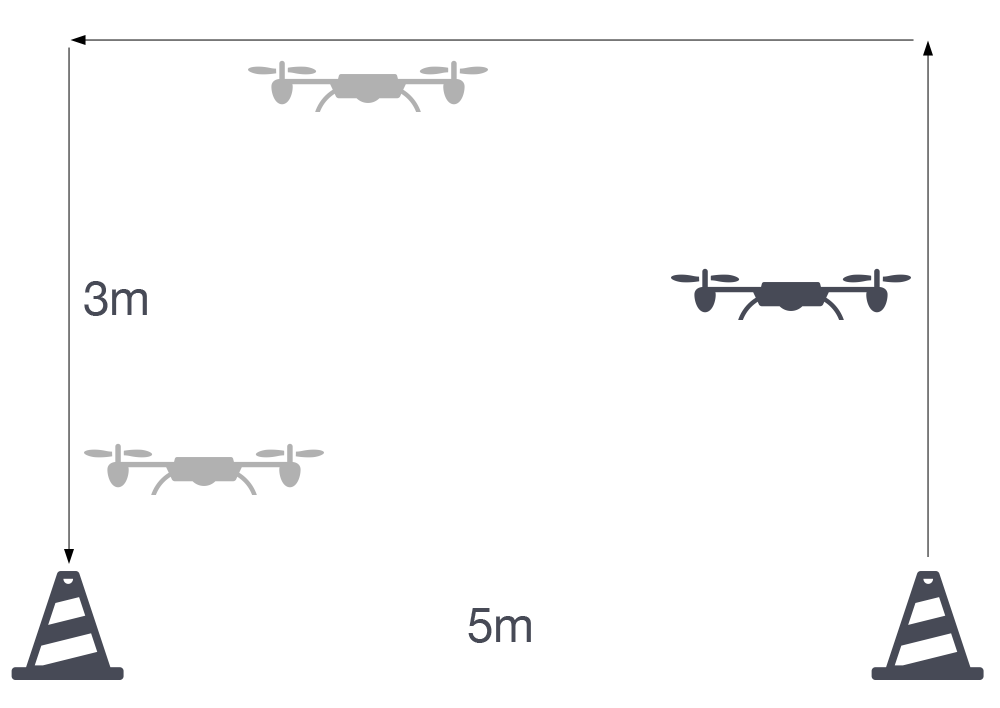
Remember the Up, Across, Down activity we completed previously in flight training school? This time you need to do the activity only using commands from your computer!
Place two cones 5m apart. Write the commands in the REPL to lift-off, fly to an altitude of around 3m, then fly 5m sideways (keeping the nose pointing away, tail facing towards the pilot), and then descend and land.
Once you are done compared your code with other students in the class.

